
How To Make A Simple Bauble Necklace
post by Andrea I come across beads and baubles that I love on a constant basis, and in fact need…July 31, 2012
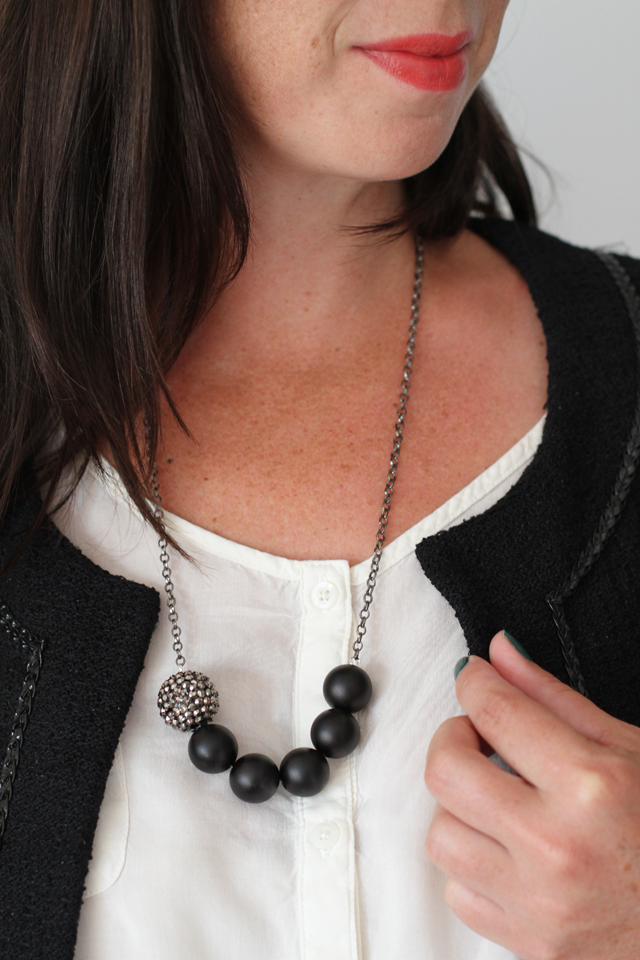
How To Make a Statement Necklace
post by Andrea I'm quite enamored with just about everything craft related, but I get especially excited when I get…May 23, 2012
How To Make A Succulent Sea Terrarium
by Andrea My daughter turned seven last week and requested a mermaid themed pool party. While color schemes, garland and…April 25, 2012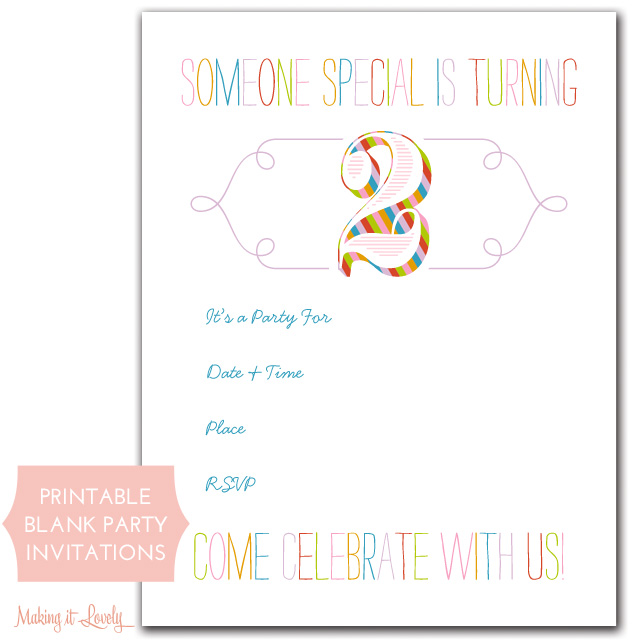
Rainbow Birthday Party Invitations (Free Printable)
We had a rainbow party last year for Eleanor's birthday, and I made really cute invitations for it. At the…April 23, 2012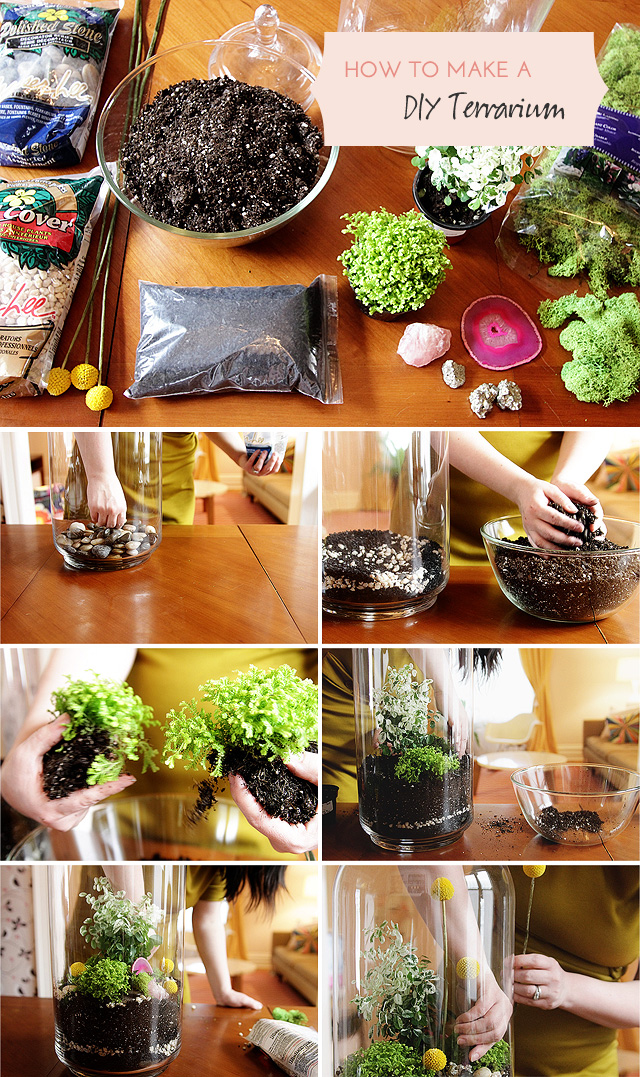
How to Make a DIY Terrarium
I had been meaning to make a terrarium for a while now, but I finally got to it last week.…April 17, 2012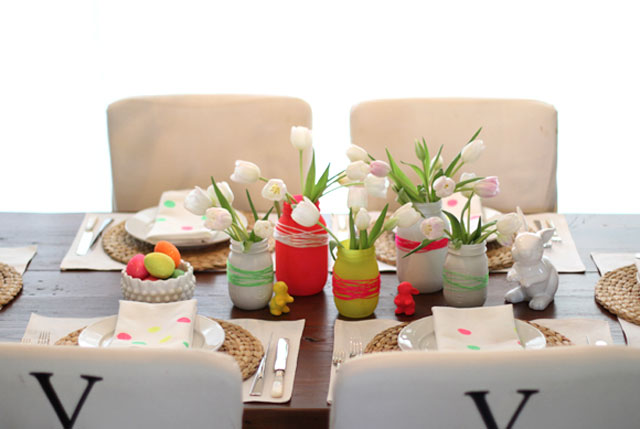
An Easter Table With a Neon Twist
Today's post is by a new contributor to Making it Lovely, Andrea Howe. I met and roomed with her at…April 4, 2012
How To Make A Simple Bauble Necklace
post by Andrea I come across beads and baubles that I love on a constant basis, and in fact need to stop buying beads at…
How To Make a Statement Necklace
post by Andrea I’m quite enamored with just about everything craft related, but I get especially excited when I get to create a piece of…
How To Make A Succulent Sea Terrarium
by Andrea My daughter turned seven last week and requested a mermaid themed pool party. While color schemes, garland and paper pom poms are an…
Rainbow Birthday Party Invitations (Free Printable)
We had a rainbow party last year for Eleanor’s birthday, and I made really cute invitations for it. At the time, I didn’t offer a…
How to Make a DIY Terrarium
I had been meaning to make a terrarium for a while now, but I finally got to it last week. I put together a post…
An Easter Table With a Neon Twist
Today’s post is by a new contributor to Making it Lovely, Andrea Howe. I met and roomed with her at Camp Mighty last year, and…