

Tiling with Cement Board Instead of Ditra
I want my bathroom tile to have longevity. I’m using porcelain (wonderfully durable), and taking the time to do the…August 29, 2019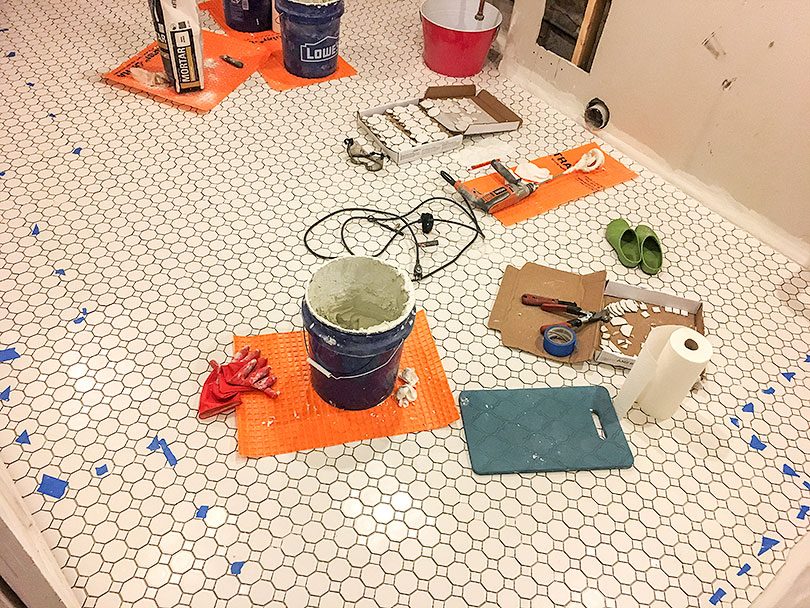
Tiling the Basement Laundry Room
Today, I grout! But first, let’s take a look at the tiling progress I’ve made. I started by finding the…July 11, 2018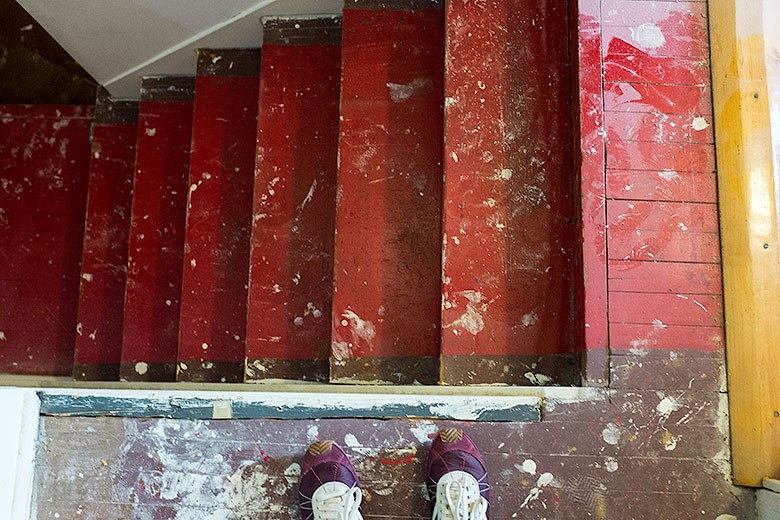
One Room Challenge: Week 4 (Those Stairs, That Hall)
Some things look better (the ceiling and the third floor doors), most things look worse (everything else). It's gotta get…October 26, 2016
Setbacks in Rewiring Our 1891 Victorian House
More progress has been made in the rewiring of our Victorian, but it has not been going well. The problems…April 4, 2016
Finding the Balance Between Sponsored and Not
I had something else planned to share today, but in light of recent comments (which were polite and respectful, thank…July 30, 2015
The Nursery, as a Clean Slate
I had been considering a few colors, but I decided to go with white walls for Calvin's nursery. It just…January 26, 2015
Tiling with Cement Board Instead of Ditra
I want my bathroom tile to have longevity. I’m using porcelain (wonderfully durable), and taking the time to do the job right from the prep…
Tiling the Basement Laundry Room
Today, I grout! But first, let’s take a look at the tiling progress I’ve made. I started by finding the center of the room, then…
One Room Challenge: Week 4 (Those Stairs, That Hall)
Some things look better (the ceiling and the third floor doors), most things look worse (everything else). It’s gotta get worse before it gets better!…
Setbacks in Rewiring Our 1891 Victorian House
More progress has been made in the rewiring of our Victorian, but it has not been going well. The problems all started when we lost…
Finding the Balance Between Sponsored and Not
I had something else planned to share today, but in light of recent comments (which were polite and respectful, thank you), I want to let…
The Nursery, as a Clean Slate
I had been considering a few colors, but I decided to go with white walls for Calvin’s nursery. It just felt right. It’s creamier than…