

DIY Striped Armoire Surprise
Sponsored by ScotchBlue™ Painter’s Tape. I spotted an armoire on Jubilee Furniture's blog not long after Calvin had been born.…January 8, 2015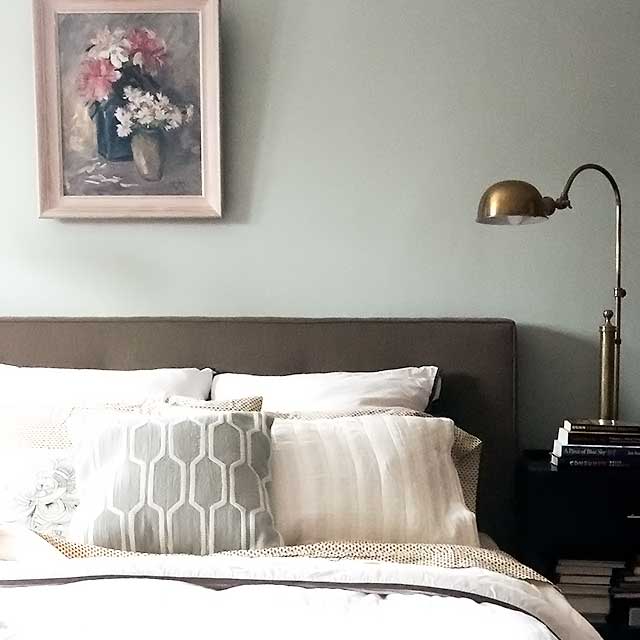
At a Snail’s Pace
This post is sponsored by Target. Shop Home Décor for modern luxury made easy. Our bedroom has been a work in progress for…January 6, 2015
The Fireplace Mantel, Decorated for Christmas
This post is sponsored by Target. Shop Home Décor for modern luxury made easy. Confession: we waited until after Thanksgiving to put our…December 8, 2014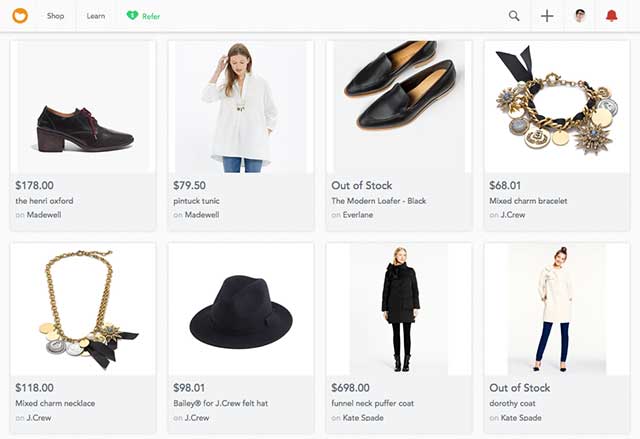
Keeping Track of Sales (and a Giveaway!)
Sponsored by PoachIt. I tend to shop for specific clothes only when I need them. A new coat because my…November 25, 2014
Upgrading to a Smart Thermostat
This post is sponsored by Honeywell. I received a Lyric thermostat and compensation in exchange for coverage. All opinions and…November 12, 2014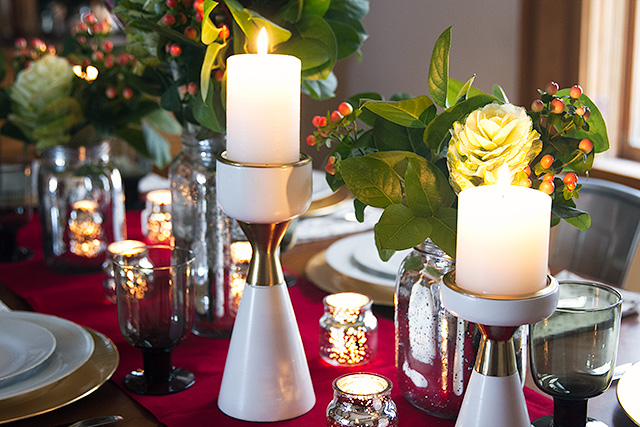
A Fall/Winter Holiday Table
This post is sponsored by Target. Shop Home Décor for modern luxury made easy. Thanksgiving is just a couple of weeks away, and…November 10, 2014
DIY Striped Armoire Surprise
Sponsored by ScotchBlue™ Painter’s Tape. I spotted an armoire on Jubilee Furniture’s blog not long after Calvin had been born. I’d been looking for something…
At a Snail’s Pace
This post is sponsored by Target. Shop Home Décor for modern luxury made easy. Our bedroom has been a work in progress for a long time now. In…
The Fireplace Mantel, Decorated for Christmas
This post is sponsored by Target. Shop Home Décor for modern luxury made easy. Confession: we waited until after Thanksgiving to put our tree up, but I started…
Keeping Track of Sales (and a Giveaway!)
Sponsored by PoachIt. I tend to shop for specific clothes only when I need them. A new coat because my old one has become threadbare,…
Upgrading to a Smart Thermostat
This post is sponsored by Honeywell. I received a Lyric thermostat and compensation in exchange for coverage. All opinions and thoughts about this product are…
A Fall/Winter Holiday Table
This post is sponsored by Target. Shop Home Décor for modern luxury made easy. Thanksgiving is just a couple of weeks away, and then we’ll be looking forward…