
Shopping for Our Sleep Number Bed
This post is sponsored by Sleep Number®. I occasionally have restless nights, but for the most part if I'm tired,…June 20, 2017
Working on the Formal Front Yard
This post is sponsored by RISE's AND not OR home and garden program, but all thoughts and opinions are my…May 11, 2017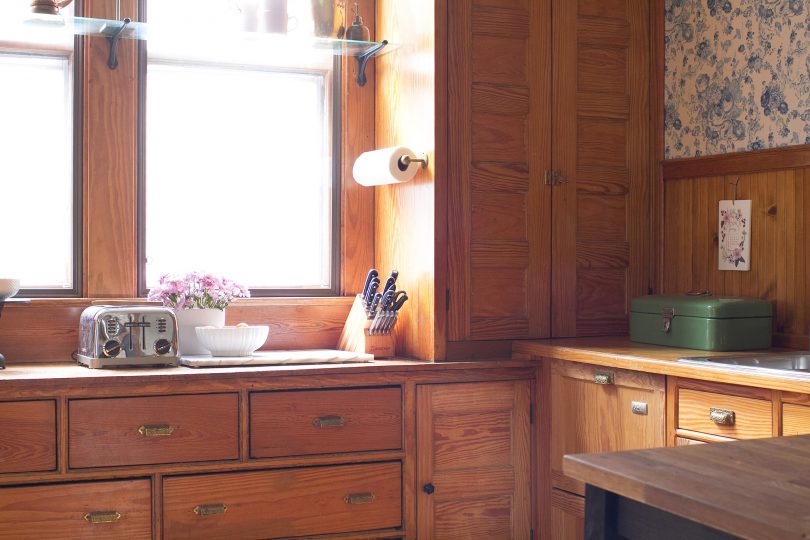
Review: Indow Window Inserts
Indow provided two window inserts for review. Most of the windows on the first and second floor are original to…February 27, 2017
With the Push of a Button
This post is sponsored by Legrand. The first and second floors retained most of the original Victorian hardware but there…February 13, 2017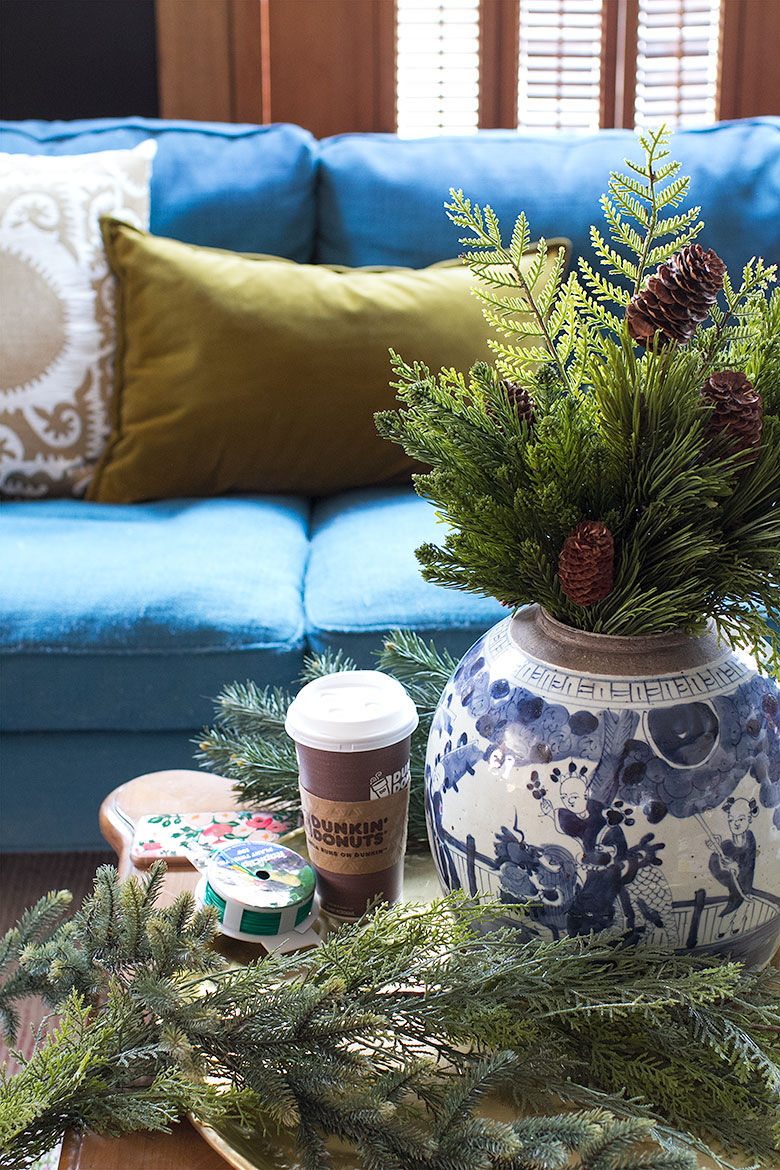
Upgrading Faux-Fresh Christmas Garland
This post is sponsored by Dunkin' Donuts. Every espresso at Dunkin’ Donuts is freshly ground and brewed for each drink…December 13, 2016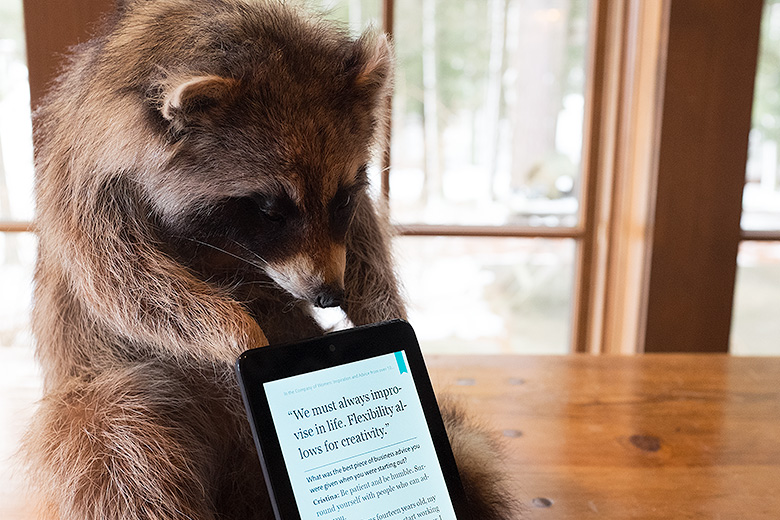
Up North, and the New NOOK
This post is brought to you by CJ Affiliate’s VIP Content Service. Thank you Barnes & Noble for sponsoring this…December 5, 2016
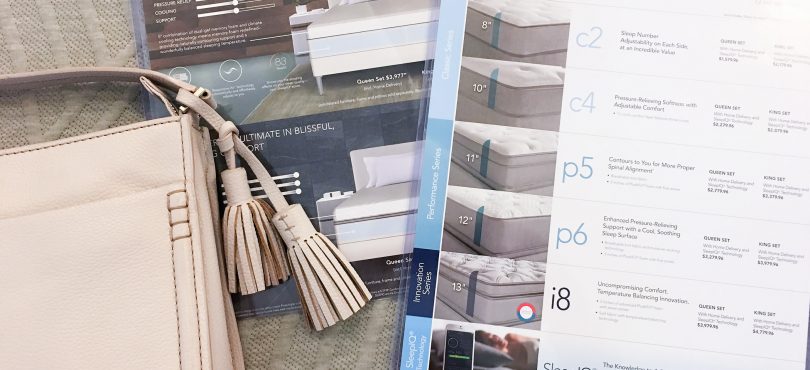
Shopping for Our Sleep Number Bed
This post is sponsored by Sleep Number®. I occasionally have restless nights, but for the most part if I’m tired, I can pretty much fall…
Working on the Formal Front Yard
This post is sponsored by RISE’s AND not OR home and garden program, but all thoughts and opinions are my own. I’ve been planning and…
Review: Indow Window Inserts
Indow provided two window inserts for review. Most of the windows on the first and second floor are original to the house — single pane,…
With the Push of a Button
This post is sponsored by Legrand. The first and second floors retained most of the original Victorian hardware but there was a mishmash of light…
Upgrading Faux-Fresh Christmas Garland
This post is sponsored by Dunkin’ Donuts. Every espresso at Dunkin’ Donuts is freshly ground and brewed for each drink and combined with steamed milk…
Up North, and the New NOOK
This post is brought to you by CJ Affiliate’s VIP Content Service. Thank you Barnes & Noble for sponsoring this post. While this was a…