
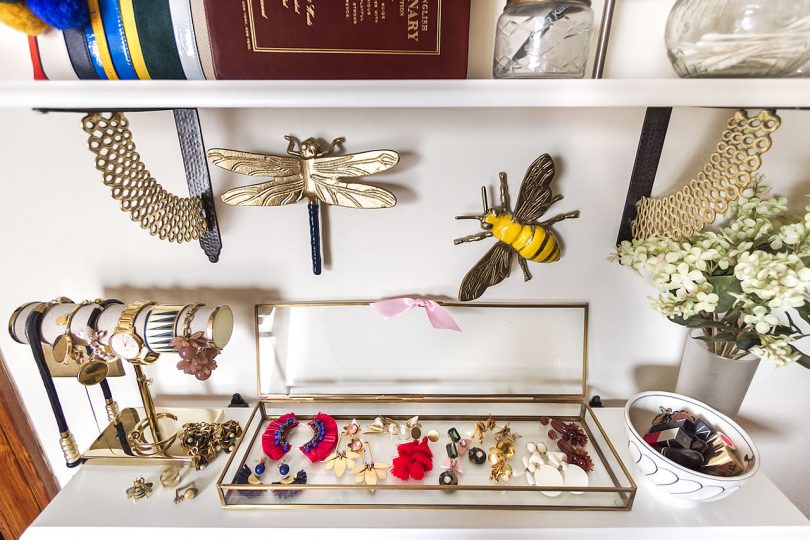
Pretty Things for Pretty Closet Shelves
My closet shelves got a little sprucing up! I rearranged things to better sort my jewelry (the earrings were piling…April 17, 2018
Organizing the Linen Closet
Why do little closets take so long to work on!? I spent hours cleaning, purging, and organizing our linen closet…January 16, 2018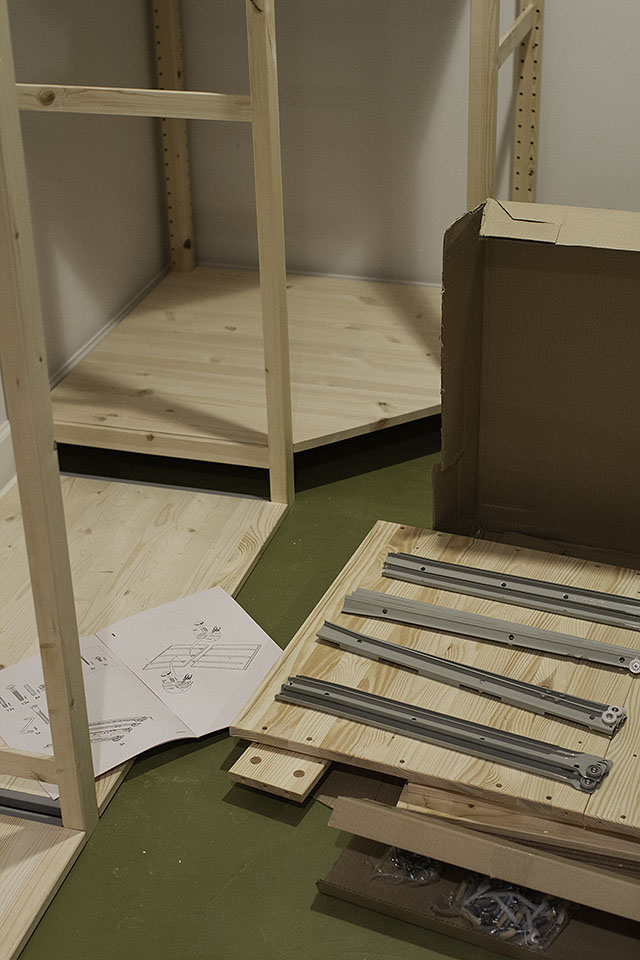
IVAR!
Remember this floor plan sketch for the basement, with the storage units labeled GORM (which is either a really unfortunate…April 1, 2013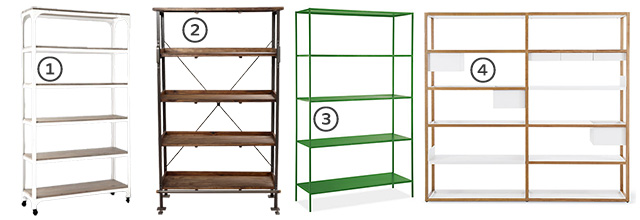
Shelving it
Every day (or nearly), I sit in my home office across from my Expedit shelves. Truthfully, I'm kind of over…October 16, 2012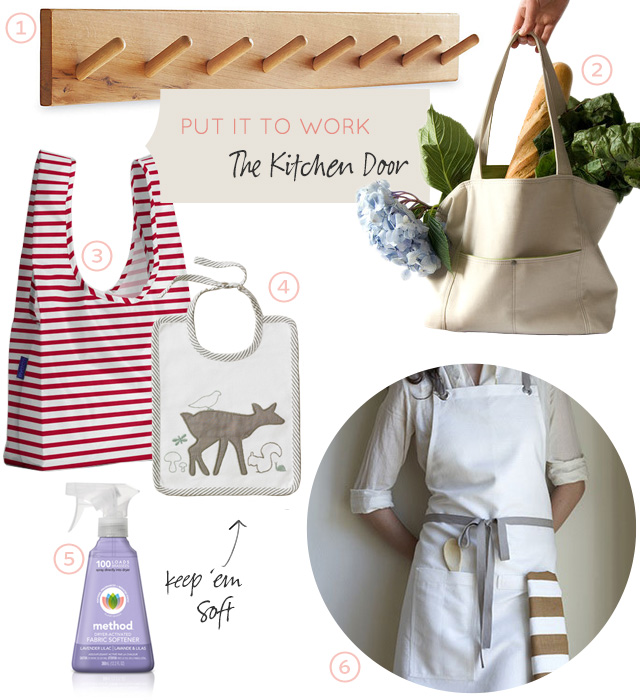
Put the Kitchen Door to Work
This post is sponsored by Method. Here's a little storage trick that works for us. I added hooks to the…September 27, 2012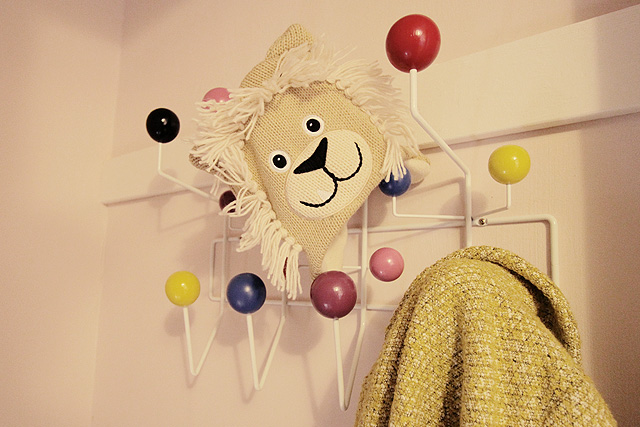
Hang-it-All Up
The stairs to the basement are looking cute. Finally. The stairway is right next to the back door in the…October 24, 2011
Pretty Things for Pretty Closet Shelves
My closet shelves got a little sprucing up! I rearranged things to better sort my jewelry (the earrings were piling up in a bowl, getting…
Organizing the Linen Closet
Why do little closets take so long to work on!? I spent hours cleaning, purging, and organizing our linen closet yesterday. And it looks better!…
IVAR!
Remember this floor plan sketch for the basement, with the storage units labeled GORM (which is either a really unfortunate name or an IKEA product)?…
Shelving it
Every day (or nearly), I sit in my home office across from my Expedit shelves. Truthfully, I’m kind of over them. More truthfully though? They…
Put the Kitchen Door to Work
This post is sponsored by Method. Here’s a little storage trick that works for us. I added hooks to the back of our kitchen door…
Hang-it-All Up
The stairs to the basement are looking cute. Finally. The stairway is right next to the back door in the kitchen, which is the entrance…