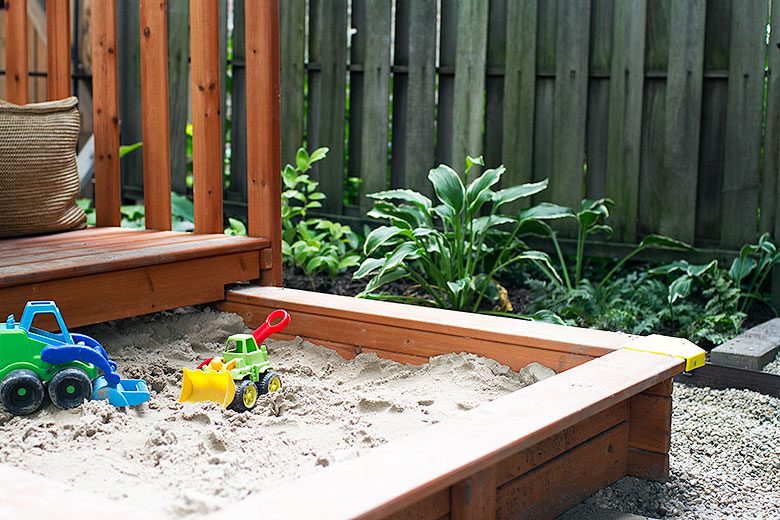
It took a full day for assembly. Add to that another couple of days to prepare the area and get everything all set up, but it’s done! The kids are absolutely loving their new sandbox.
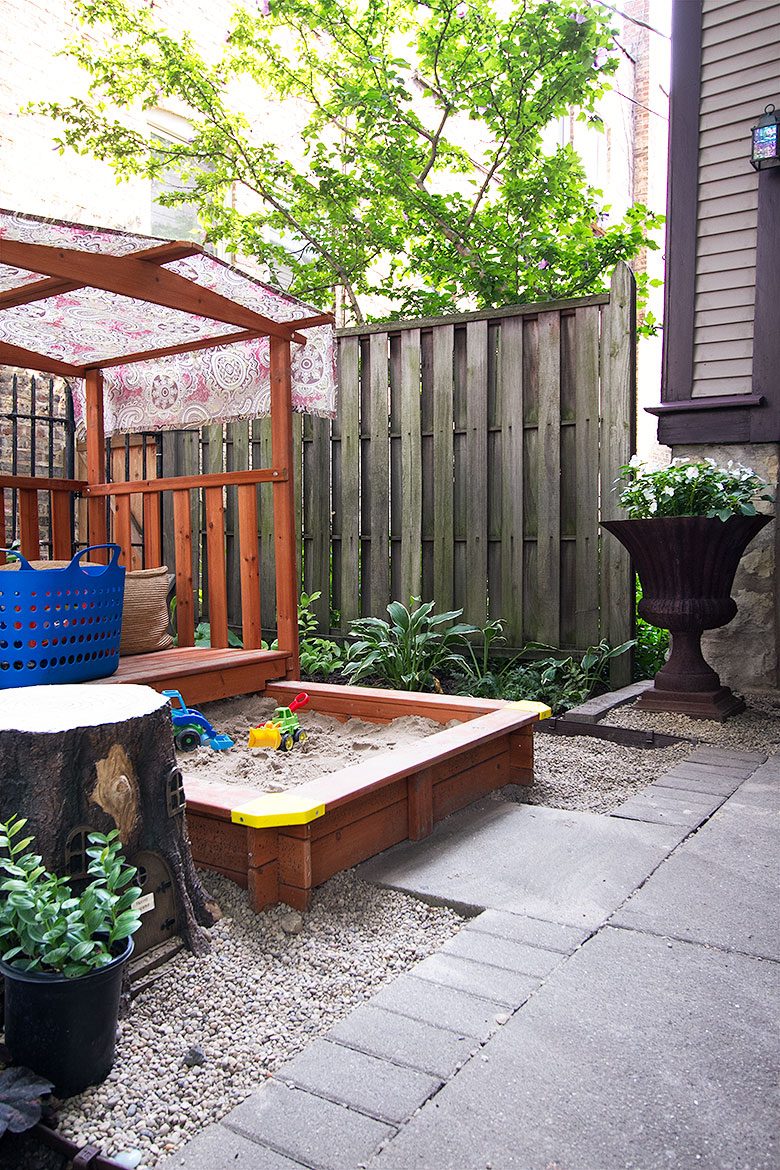
The ‘fort’ section is on wheels and serves as a cover.
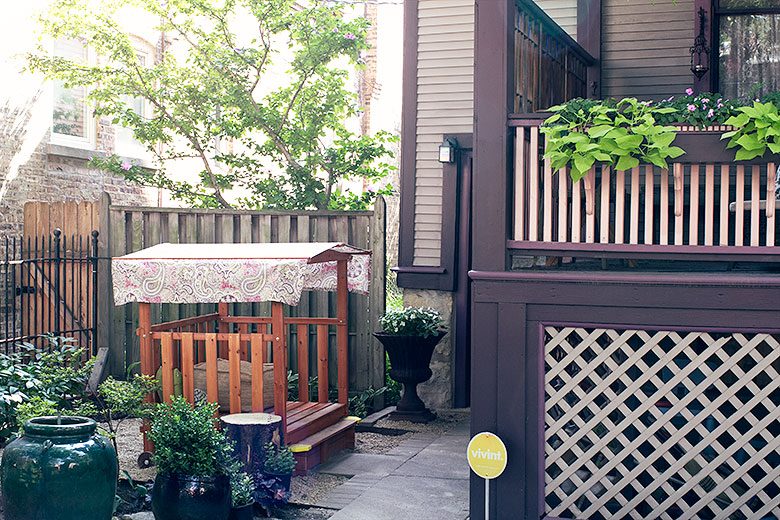
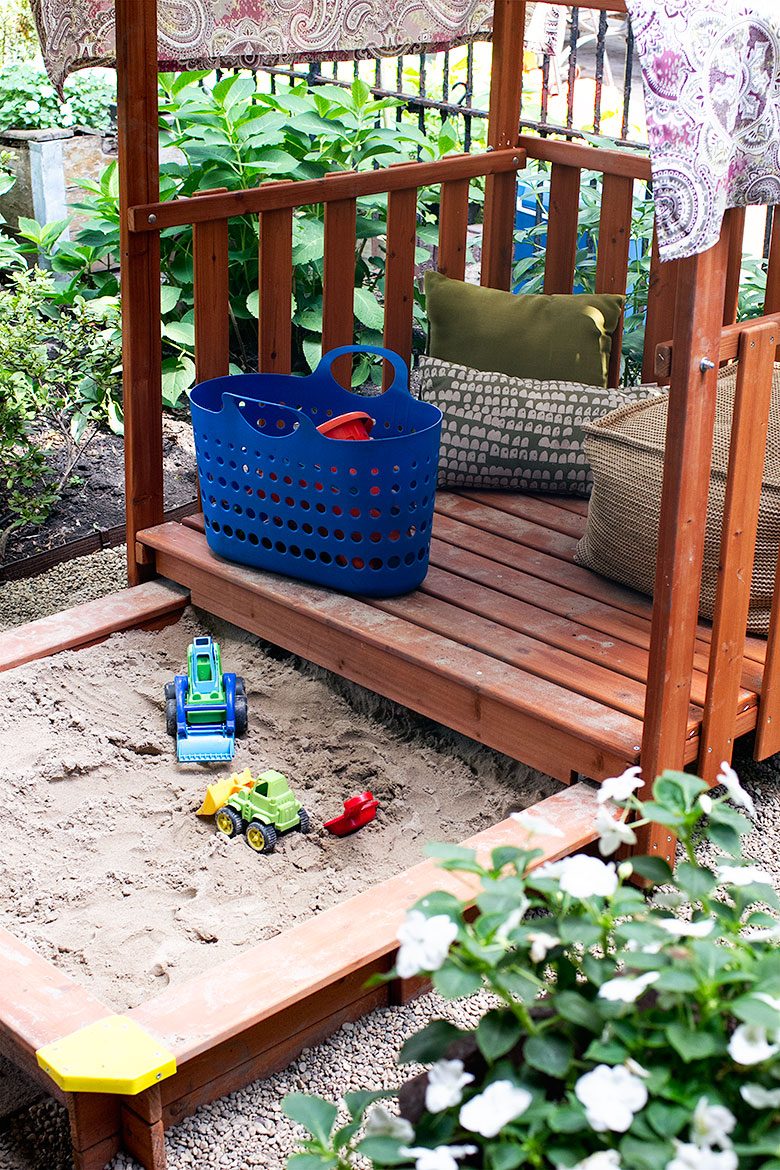
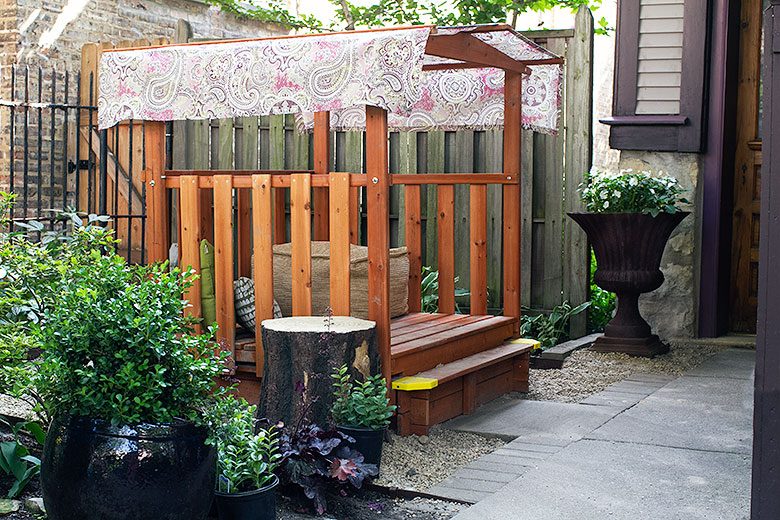
I removed about two inches of dirt, tamped it down, and staked in some terrace board landscape edging to form an 8’x10′ area. I lined it with weed barrier fabric and centered a square cement paver off of the sidewalk to act as an entrance that integrates the whole thing with our existing layout. I reused the paver bricks that lined the sidewalk, brought the assembled sandbox over, filled it with sand, and then poured 20 bags of pea gravel to surround it. I do have to sweep the stray pebbles back in after the kids are done playing (Calvin tosses them out a lot), but that’s a quick chore in exchange for something that keeps all three occupied for hours at a time.
The area was nothing special before, and here’s a reminder of the blue plastic tarp the sandbox came with.
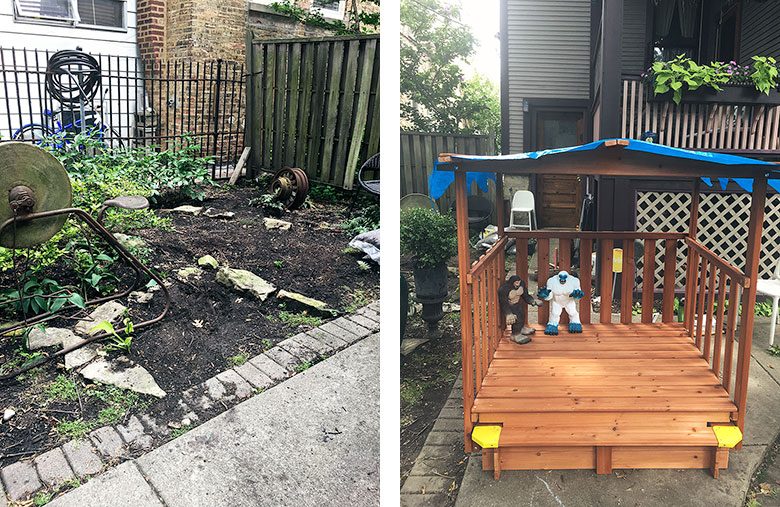
I ordered two yards of purple paisley outdoor fabric and hemmed all four sides to make a new canopy. Like I had said, it’s not my favorite fabric pattern in the world, but I think it works well with the house. The cedar of the sandbox should mellow and gray to match the section of wooden fence that’s there, and then the whole thing will look even better.
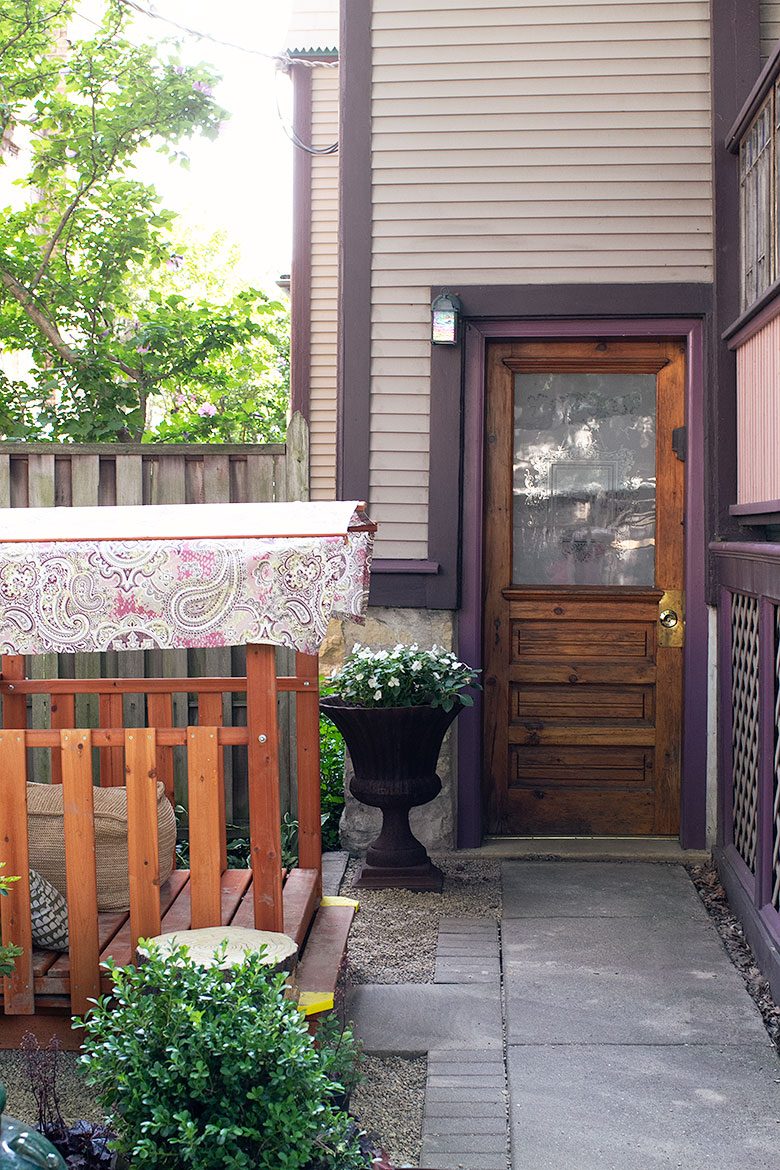
The antique cast iron urn planter is a new addition to the yard too. The selection of annuals for shade was a little lacking this late in the season, so I’ve just filled it with impatiens. To the left of it, I created a border of shade-happy plants to soften the edges. I split and replanted a couple of hostas from elsewhere in the yard, kept the painted ferns that were already there, and picked up some variegated solomon’s seal and a giant hosta for the far corner. It looks a little sparse now, but hostas are especially resilient and everything should look great next spring.
On the other side, I kept an azalea and hydrangea, and added a couple of purple heuchera (coral bells) to pick up on the color of the house. Behind the sandbox are three peonies, but they don’t get enough sun to bloom (I think I saw one or two flowers total this spring). I’d like to create a dense green backdrop along that section of the neighbor’s cast iron fence, and I have his permission to plant a climbing hydrangea. It would look great eventually, but they take years to establish themselves. I’m wondering if maybe a yew hedge would be a better (somewhat quicker) choice?
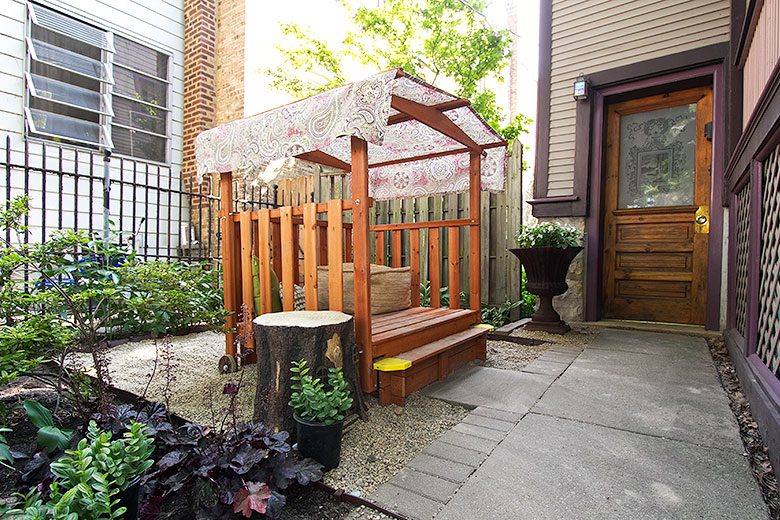
A little something like this…
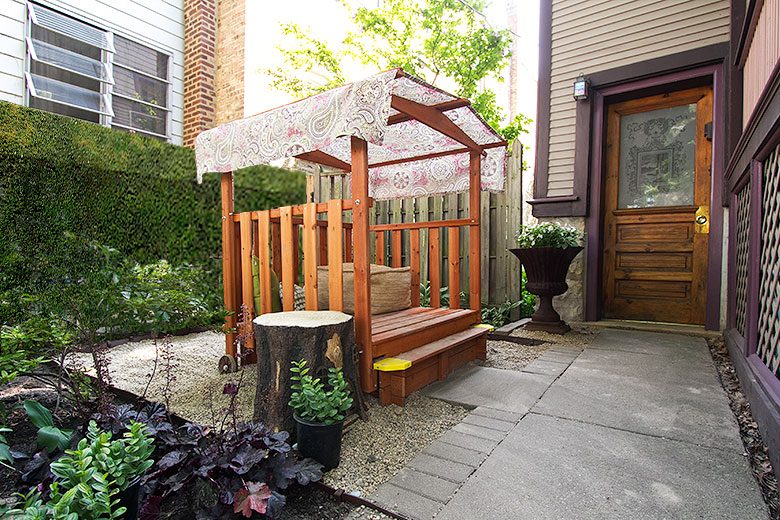
Yeah?
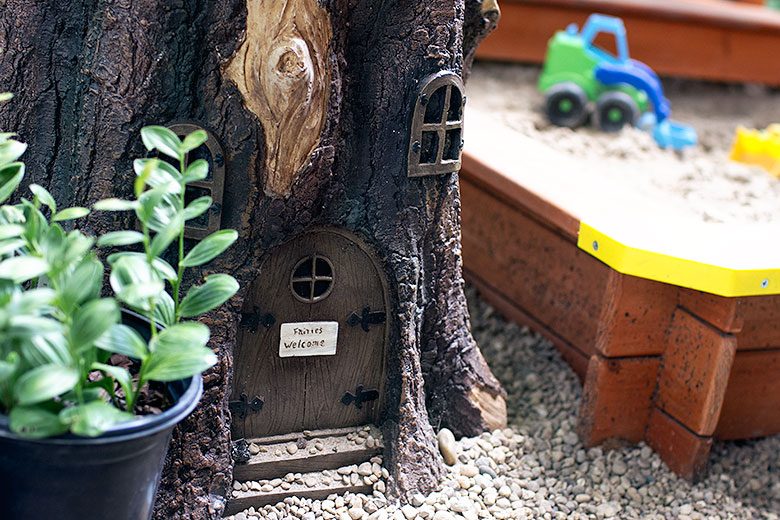
I didn’t intend for the fairy tree stump to end up here. It was supposed to go over by the kids’ picnic table on the other side of the yard, but Eleanor and her friends wanted to play with it by the sandbox. They added one of the little plants I haven’t gotten around to putting in the ground yet.
The outdoor pouf was also commandeered by Eleanor from the back porch, along with a couple of pillows that used to be on the porch at our old house. The blue plastic tote works well for containing the sandbox toys, and I drilled drainage holes in the bottom.
One big yard project down! One big step toward making the yard work better for our family.



Staci
August 3, 2016 at 3:52 pmI like the fabric with your house. This looks so fun for your kids–I would have loved this as a kid! I’m glad they have a new outdoor place to play.
Min Han
August 3, 2016 at 7:06 pmit’s beautiful!! can i ask you where you bought your sand? i’m having such a hard time finding sand that isn’t dusty. thanks!!
lauralou
August 3, 2016 at 7:10 pmLooks marvelous! I’m partial to arborvitae hedges, and rose of sharon, too. Though, the rose of sharon would be more seasonal. Whatever you do, I’m sure will look amazing.
Second City Mom
August 4, 2016 at 11:22 amThat sandbox looks so fun! I love how you incorporated it in your yard. Such a great idea!
Allison F
August 4, 2016 at 11:50 amLOVE LOVE LOVE!
Sarah
August 4, 2016 at 2:57 pmDon’t do yew! It is a bully and a thug! We have a massive – 70′ long – yew hedge in front of our house and I wish I could magic it away. Yew requires at least one trimming a year, and two to keep it looking manicured. For a hedge our size, that’s about 12 hours with an electric hedge trimmer. It sends out thick, stubborn roots that clog the soil, suck out the nutrients and make it hard to plant anything in the ground around it. For our 5′ tall hedge, the roots go out about 3 feet. I have to use a hand trowel and secaturs to dig holes deep enough to plant in, scraping out dirt and clipping roots as I go. Once I put a new plant in, I have to wait and see whether it can cope being close to the hedge, or whether it withers and dies. Most wither and die. I HATE the hedge. We also have a climbing hydrangea, and although it is slow growing, it is also a gentle and lovely plant.
margeauxmay
August 4, 2016 at 3:01 pmI found a early-summer clematis to be a great fence-cover, requiring little-to-no effort on my part after the second year. If I knew how to prune it properly I probably would, but since I’m using it as a privacy screen of sorts I just encourage it to cover everything!
Kristin
August 4, 2016 at 6:54 pmWhat a huge transformation. I am not going to lie, I immediately zeroed in on the fairy tree stump in the first photo. I love that the stump is getting it’s own landscaping!
Cynthia
August 5, 2016 at 2:15 pmCan you grow kiwi in your zone? They grow like a weed and would cover that fence in no time. Also, it would be fun for the kids to harvest their own snack, no? Lovely upgrade and enjoy having the kids occupied outside for HOURS!
Tending to the Climbing Roses – Making it Lovely
August 8, 2016 at 11:26 am[…] We have a bunch of vines and climbers in the garden. Autumn sweet clematis on the front fence, grapevines on the back. Honeysuckle on a bird feeder post, ivy on the neighbor’s house, and a newly planted climbing hydrangea to grow on the fence behind the kids’ play area. […]
Annalisa
August 17, 2016 at 9:01 pmWe have this exact sandbox, and, while we love it, I would recommend an extra (plastic, elasticised maybe?) cover to go over the sand box directly (under the planks). The planks do a good job of keeping cats out, but a very poor job of keeping out leaves/seed pods etc. and bugs. Our sandpit is constantly full of decomposing leaves that somehow sneak in between the planks, and very gross snail/slug poop :( It is a pain in the neck to be regularly sifting all that grossness out, and means our 4 yr old doesn’t use it as much as he would like. I really wish I’d covered ours up very soon after setting it up as I’m going to have to fully clean it out and start over with fresh sand I think.
Prue Fit
August 24, 2016 at 10:18 amWhat a great weekend project! Definitely brought back memories of the sandboxes and various play structures my dad built for us over the years–I loved watching him and helping him too, guess that’s where my love of DIY comes from :)
Amanda
April 16, 2017 at 9:26 pmThis is such a great project! I’m thinking about a similar set up in my back yard. How did your sandbox do over the winter? I hope it held up well and is back in use!