
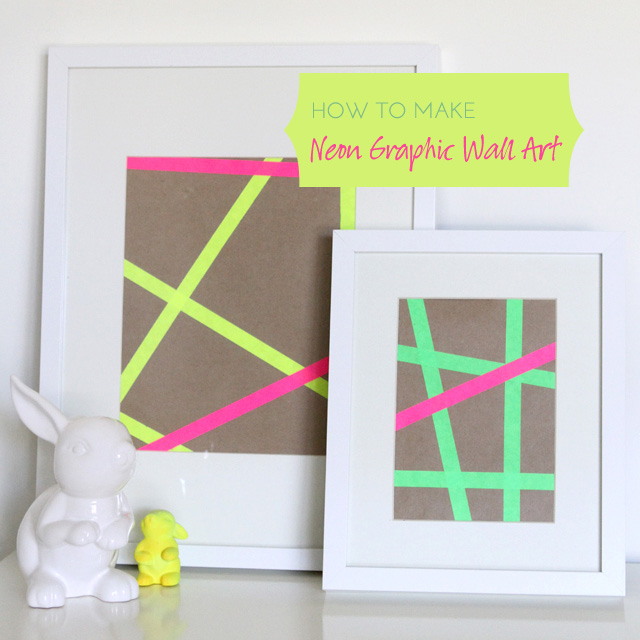
How To Make Graphic Wall Art
post by Andrea I've been deep in the throes of getting a very special room ready for an expectant arrival;…August 14, 2012
How To Make A Simple Bauble Necklace
post by Andrea I come across beads and baubles that I love on a constant basis, and in fact need…July 31, 2012
Go Boost Their Roost!
I've been working with HouseLogic to offer homeowners a chance to win a $20,000 home renovation to “Boost Your Roost."…July 30, 2012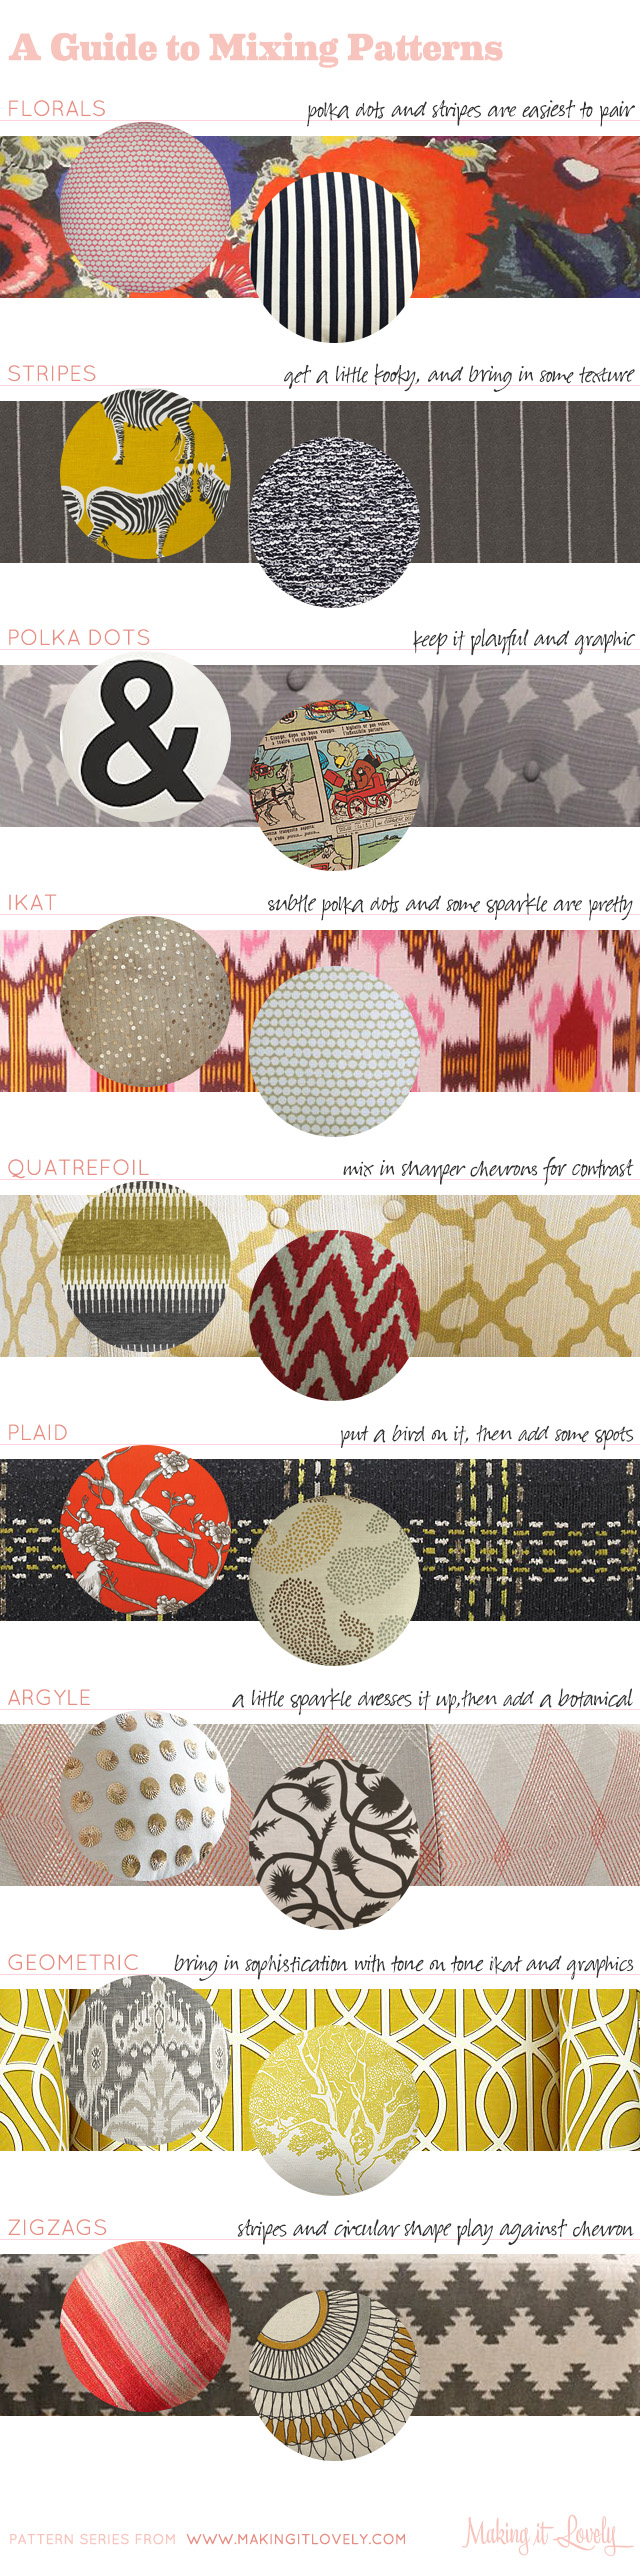
A Guide to Mixing Patterns in Your Home
Mixing patterns in fashion happens all the time (I'm always a fan of stripes and florals), but people seem to…July 24, 2012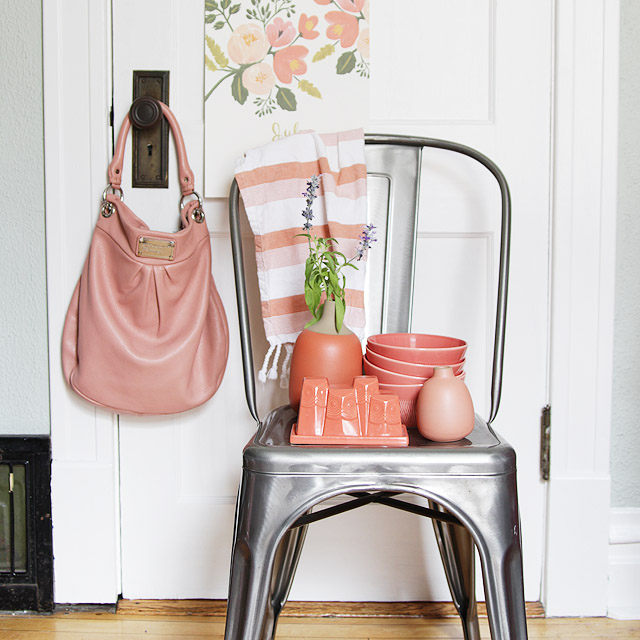
Peachy Pinky Coral
It's no secret that I'm a huge fan of pink, but lately it's peach and coral that have my heart.…July 20, 2012
Look Hoo I Found
I've had a vintage owl cookie jar for a few years, and I move it around the house from time…July 19, 2012
How To Make Graphic Wall Art
post by Andrea I’ve been deep in the throes of getting a very special room ready for an expectant arrival; baby number three. [editor’s note:…
How To Make A Simple Bauble Necklace
post by Andrea I come across beads and baubles that I love on a constant basis, and in fact need to stop buying beads at…
Go Boost Their Roost!
I’ve been working with HouseLogic to offer homeowners a chance to win a $20,000 home renovation to “Boost Your Roost.” I received hundreds of entries…
A Guide to Mixing Patterns in Your Home
Mixing patterns in fashion happens all the time (I’m always a fan of stripes and florals), but people seem to shy away from doing it…
Peachy Pinky Coral
It’s no secret that I’m a huge fan of pink, but lately it’s peach and coral that have my heart. This was a fun one…
Look Hoo I Found
I’ve had a vintage owl cookie jar for a few years, and I move it around the house from time to time. Sometimes it’s in…