
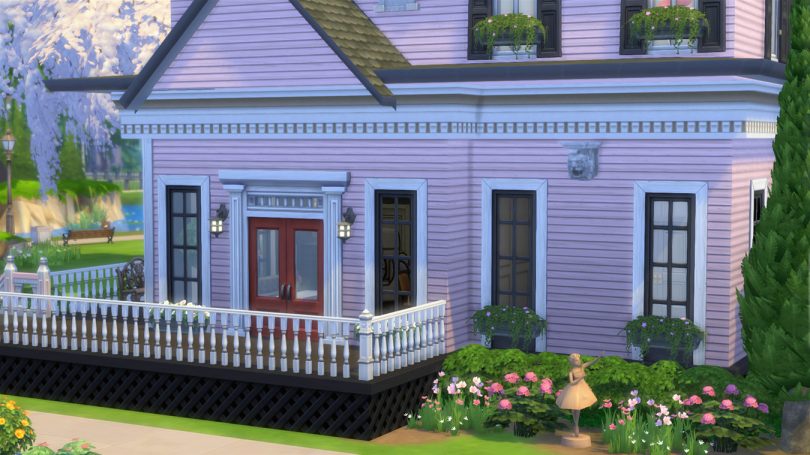
My Sims 4 Pink Victorian House
It's a mix of twee and cute with creepy and sinister elements. Much like my own house, hey-o! A few…December 13, 2017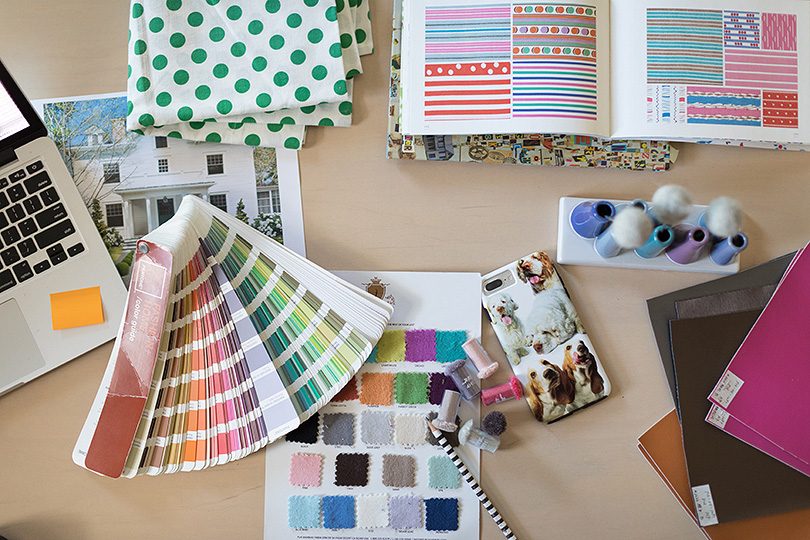
Designing Rugs
I've designed three rugs for the Annie Selke Rug Design Challenge! I'll need your help (in the form of votes)…July 6, 2017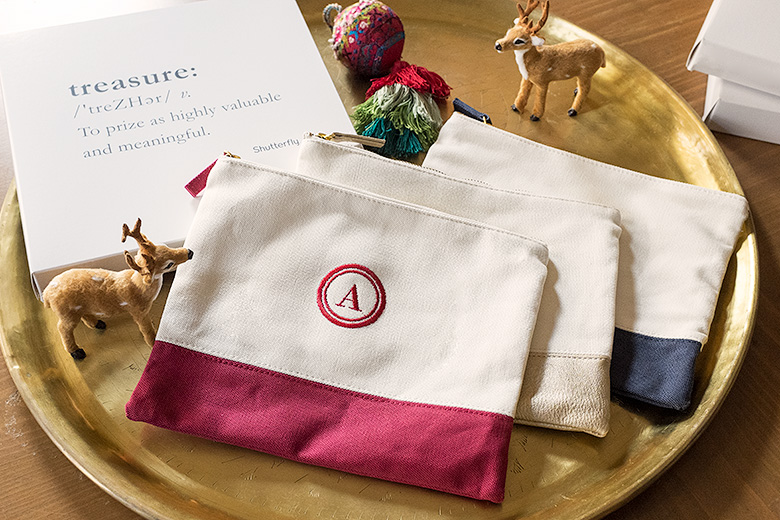
Personalized Holiday Gifts, and “Wheel Cars!”
This post is sponsored by Shutterfly. A while back, I took a few quick pictures of the kids while we…December 1, 2016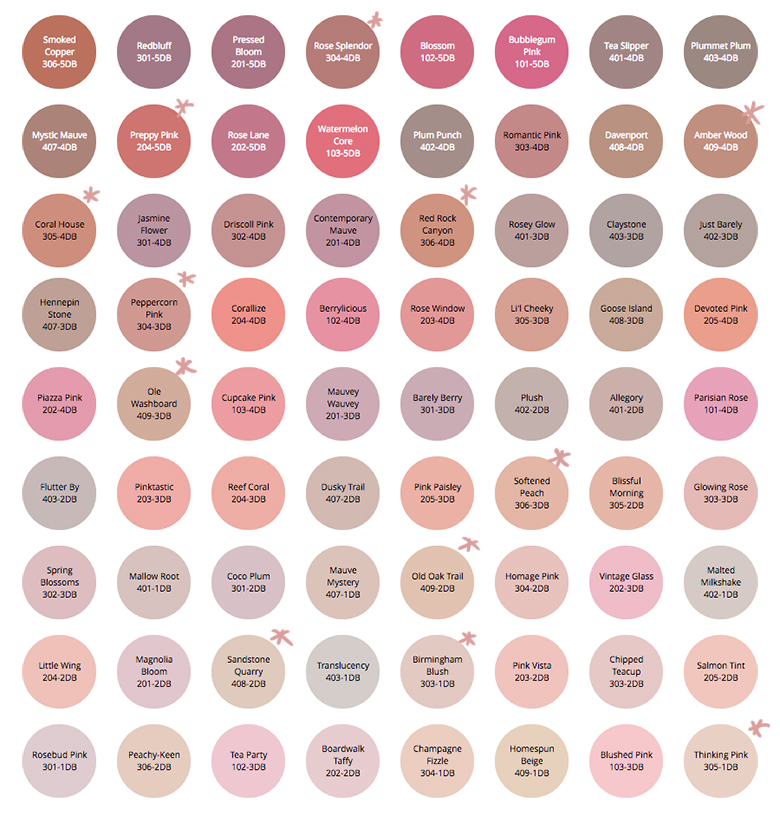
Planning Our Paint Color Palette with the Simply Yours Tool
This post is sponsored by Dutch Boy Paint. We took on several spaces for the latest round of the One…November 21, 2016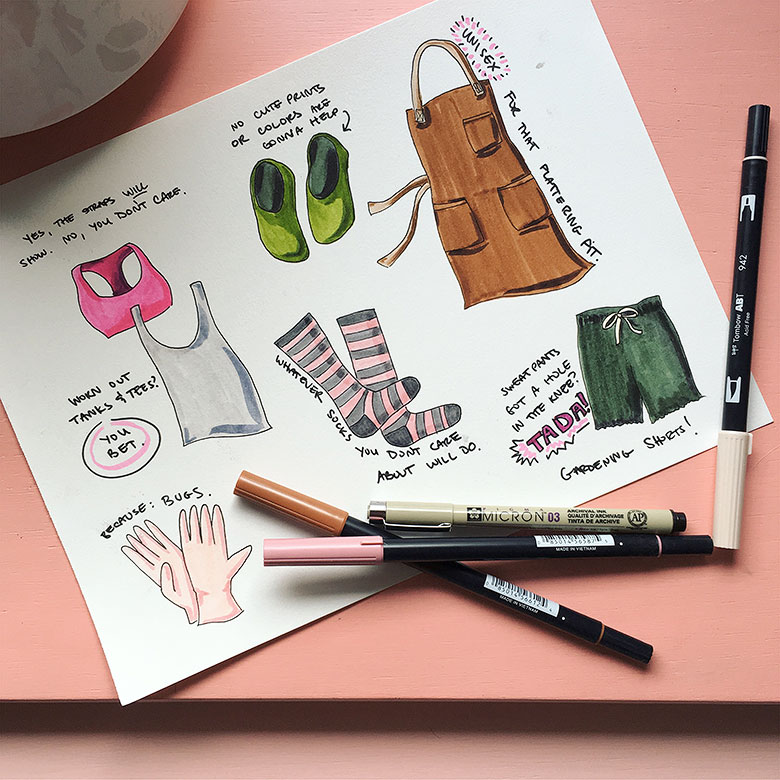
Color it! IDGAF Garden Style
I'm spending entire days in the garden lately and I look ridiculous out there. I'm not all that worried about…August 2, 2016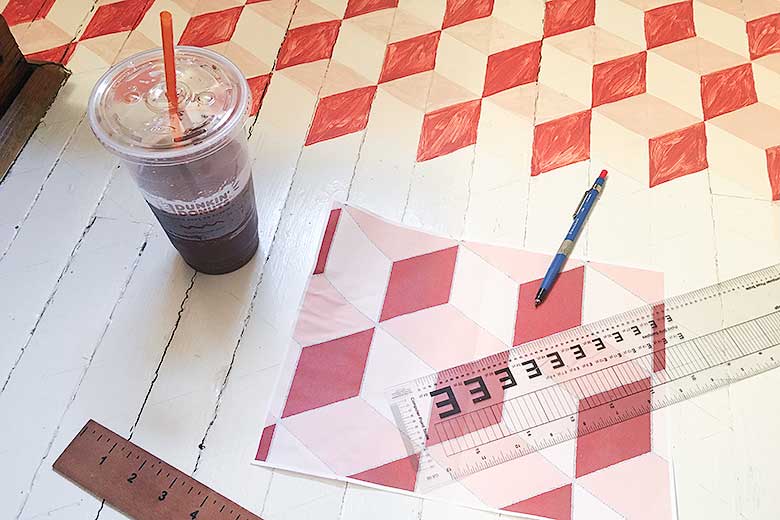
DIY Tumbling Blocks Hand-Painted Floor
This post is sponsored by Dunkin' Donuts. The painted floor in the bathroom is done! It only took a million…July 7, 2016
My Sims 4 Pink Victorian House
It’s a mix of twee and cute with creepy and sinister elements. Much like my own house, hey-o! A few of you had asked to…
Designing Rugs
I’ve designed three rugs for the Annie Selke Rug Design Challenge! I’ll need your help (in the form of votes) to bring them to production.…
Personalized Holiday Gifts, and “Wheel Cars!”
This post is sponsored by Shutterfly. A while back, I took a few quick pictures of the kids while we were waiting for a table…
Planning Our Paint Color Palette with the Simply Yours Tool
This post is sponsored by Dutch Boy Paint. We took on several spaces for the latest round of the One Room Challenge. The work spanned…
Color it! IDGAF Garden Style
I’m spending entire days in the garden lately and I look ridiculous out there. I’m not all that worried about it, but I’m filthy by…
DIY Tumbling Blocks Hand-Painted Floor
This post is sponsored by Dunkin’ Donuts. The painted floor in the bathroom is done! It only took a million hours! ‘Tumbling blocks’ is a…