

Reupholstering My Floral Chair with Calico
Sponsored by Calico I loved my loud floral armchair. It was a floor model, and there was a small rip…October 12, 2021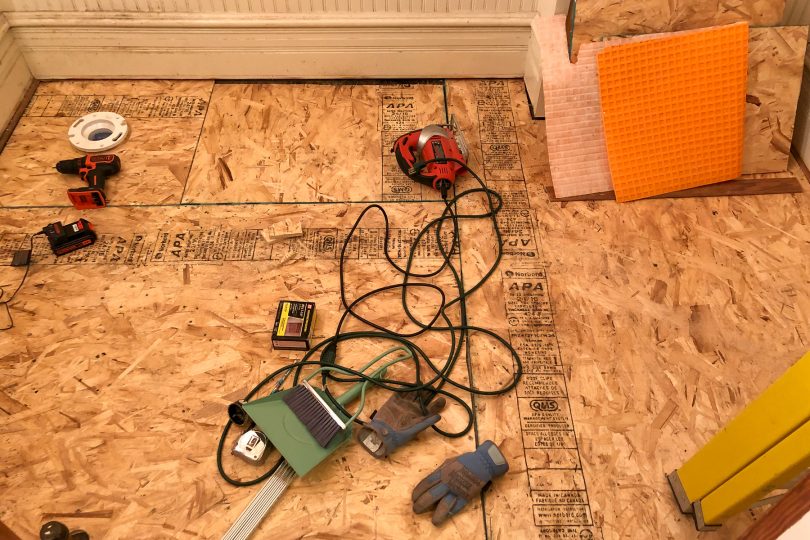
Tiling with Cement Board Instead of Ditra
I want my bathroom tile to have longevity. I’m using porcelain (wonderfully durable), and taking the time to do the…August 29, 2019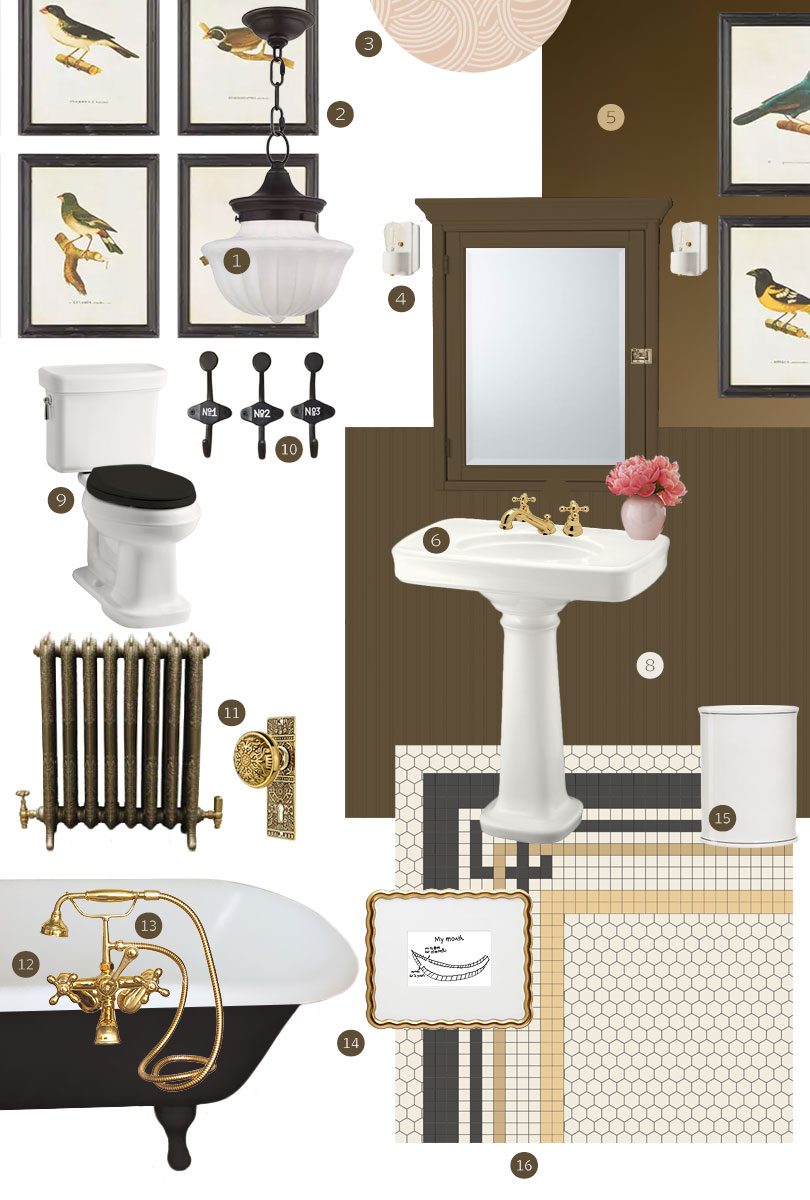
The Bathroom Design Plan
This bathroom renovation is sponsored by Lowe’s. Thank you for making this project possible! I've been working away on our second…June 26, 2019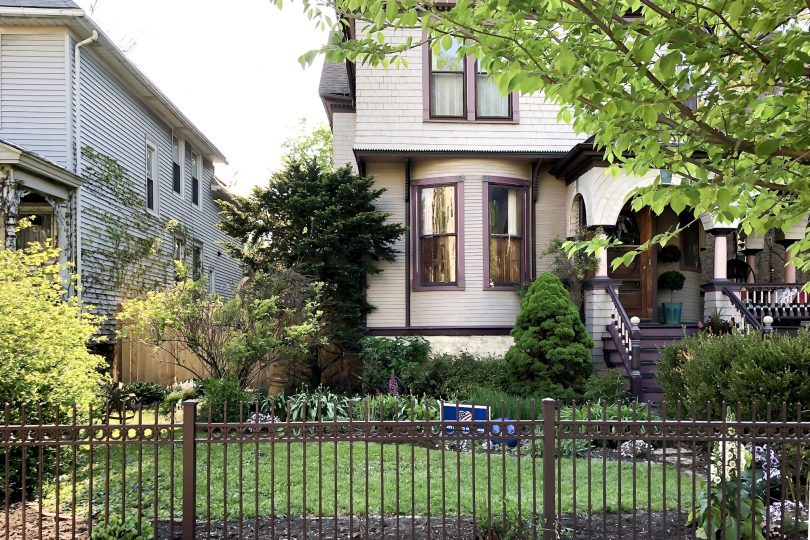
Reviving the Front Yard For Spring
This is the second of three posts sponsored by RISE’s AND not OR home and garden program. All thoughts and opinions are…May 17, 2019
Planning a Secluded Garden
This is the first post of three sponsored by RISE’s AND not OR home and garden program. All thoughts and opinions are…May 8, 2019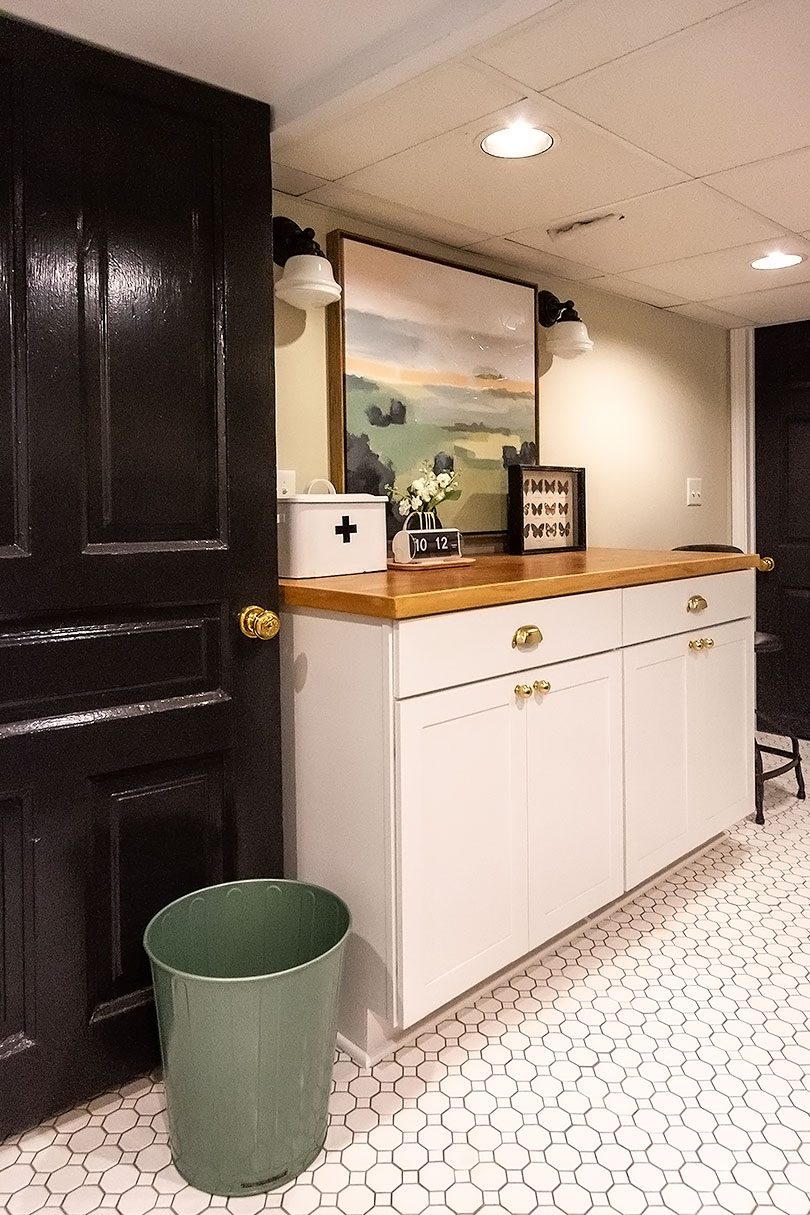
Our Basement Laundry Room Makeover
This post is sponsored by Lowe's. Thank you for making this renovation possible! The laundry room in our Victorian is…November 28, 2018
Reupholstering My Floral Chair with Calico
Sponsored by Calico I loved my loud floral armchair. It was a floor model, and there was a small rip in the linen fabric when…
Tiling with Cement Board Instead of Ditra
I want my bathroom tile to have longevity. I’m using porcelain (wonderfully durable), and taking the time to do the job right from the prep…
The Bathroom Design Plan
This bathroom renovation is sponsored by Lowe’s. Thank you for making this project possible! I’ve been working away on our second floor bathroom, clearing everything out…
Reviving the Front Yard For Spring
This is the second of three posts sponsored by RISE’s AND not OR home and garden program. All thoughts and opinions are my own. The great spring…
Planning a Secluded Garden
This is the first post of three sponsored by RISE’s AND not OR home and garden program. All thoughts and opinions are my own. We have a…
Our Basement Laundry Room Makeover
This post is sponsored by Lowe’s. Thank you for making this renovation possible! The laundry room in our Victorian is in the basement, and the…