
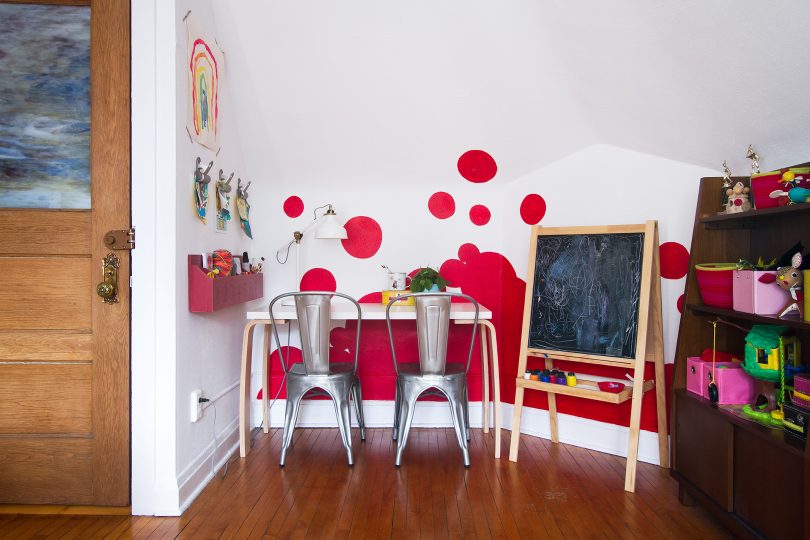
The Playroom to Home Office Layout
I have a 27" iMac on my desk with two external backup drives, a memory card reader, full keyboard with…February 16, 2017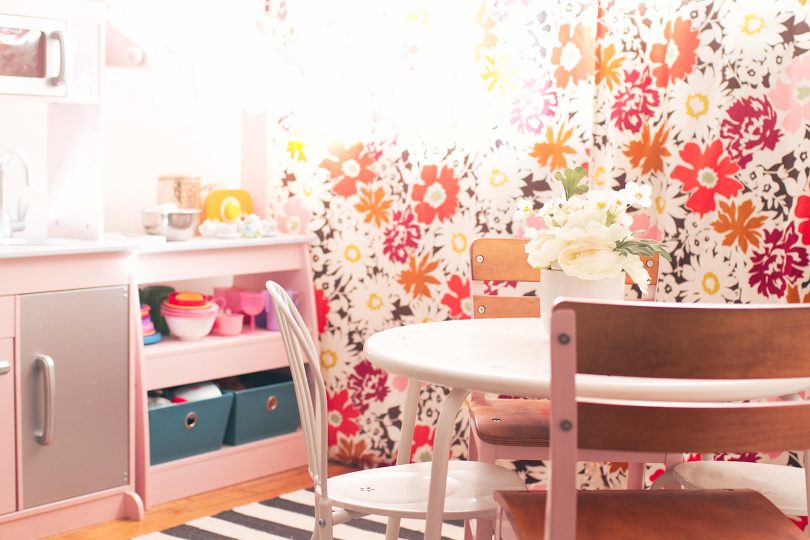
A Playroom / Office Switcheroo
There is a room on the first floor, behind the kitchen, that I've barely shown on the blog. It's a…January 19, 2017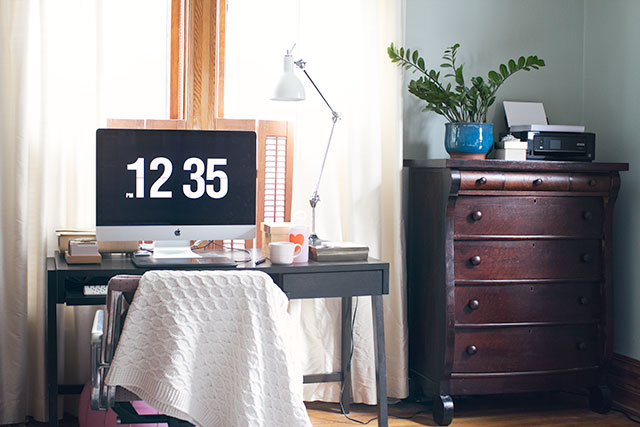
Working on My Work Space
This post and giveaway are sponsored by GE reveal®. I've been making over four spaces in my home over the…March 3, 2015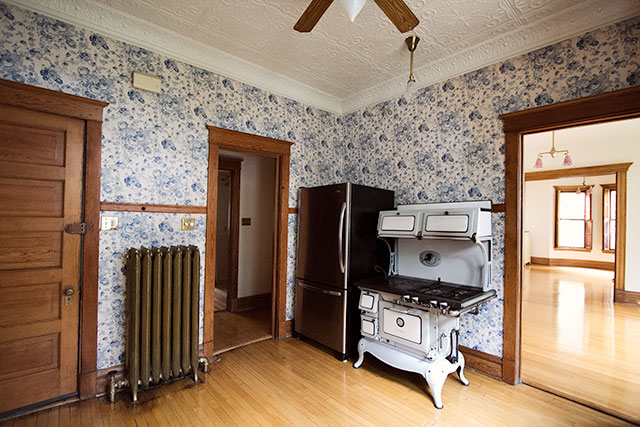
The Victorian House: Kitchen, Bathroom, Office, and Back Porch #1
Here's the rest of our new house's first floor! Think of this as 'The First Floor: The Wallpapered Edition.' (There…August 27, 2013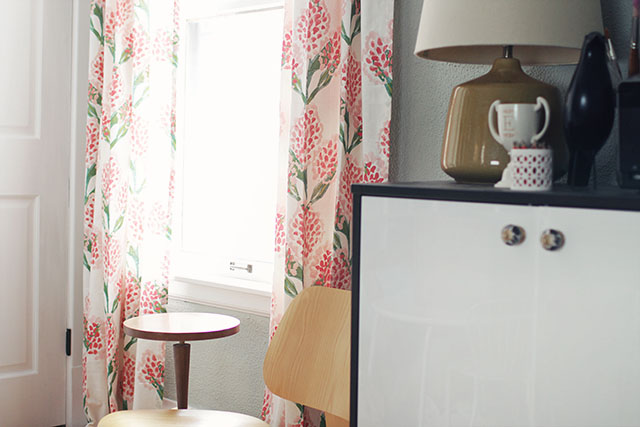
Speckled Blooms Curtains in My Office
Well, I went and ordered those Speckled Blooms curtains so I could see them in person. They're pretty. They also…February 7, 2013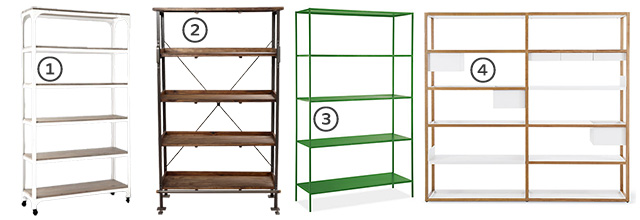
Shelving it
Every day (or nearly), I sit in my home office across from my Expedit shelves. Truthfully, I'm kind of over…October 16, 2012
The Playroom to Home Office Layout
I have a 27″ iMac on my desk with two external backup drives, a memory card reader, full keyboard with number pad, and a Wacom…
A Playroom / Office Switcheroo
There is a room on the first floor, behind the kitchen, that I’ve barely shown on the blog. It’s a former sleeping porch that was…
Working on My Work Space
This post and giveaway are sponsored by GE reveal®. I’ve been making over four spaces in my home over the course of four weeks, using…
The Victorian House: Kitchen, Bathroom, Office, and Back Porch #1
Here’s the rest of our new house’s first floor! Think of this as ‘The First Floor: The Wallpapered Edition.’ (There will be more upstairs, too.)…
Speckled Blooms Curtains in My Office
Well, I went and ordered those Speckled Blooms curtains so I could see them in person. They’re pretty. They also don’t go with my rug…
Shelving it
Every day (or nearly), I sit in my home office across from my Expedit shelves. Truthfully, I’m kind of over them. More truthfully though? They…