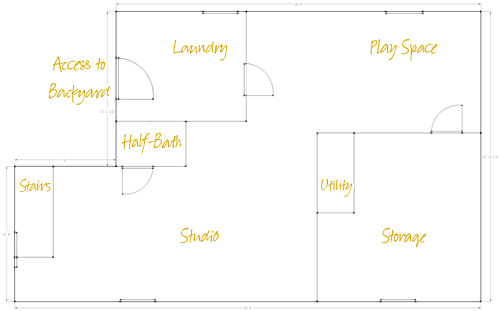
Ta da! Does it suddenly feel like December again? Because that’s when all of this was supposed to be finished. Here’s the floor plan:
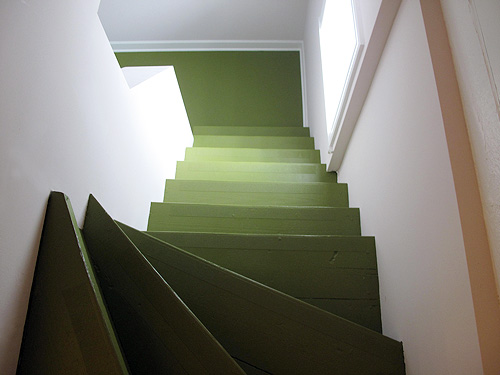
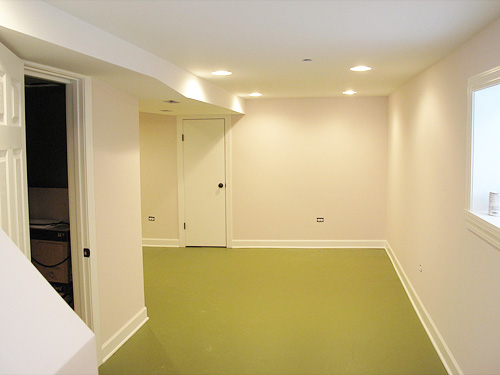
Let’s head down the stairs to take a look around.
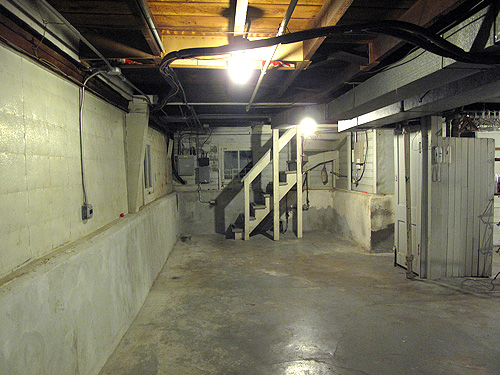
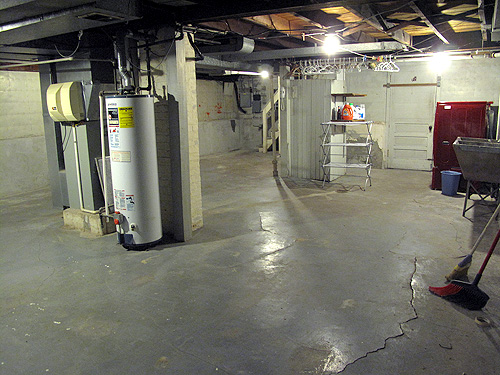
And now a before:
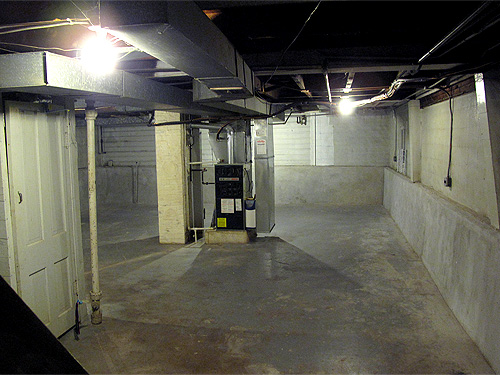
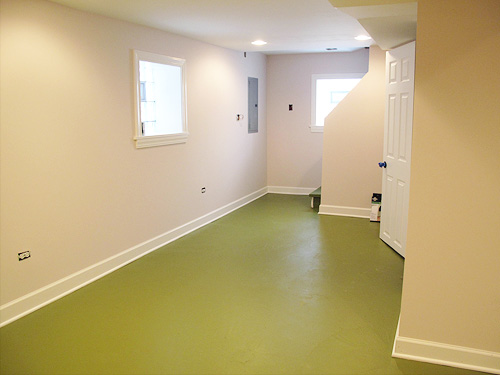
That’s as good as it gets for empty basement ‘before and after’ photos, because once we reached this stage we started moving in all of our stuff. Witness, we couldn’t even wait at this point to start filling up the storage area.
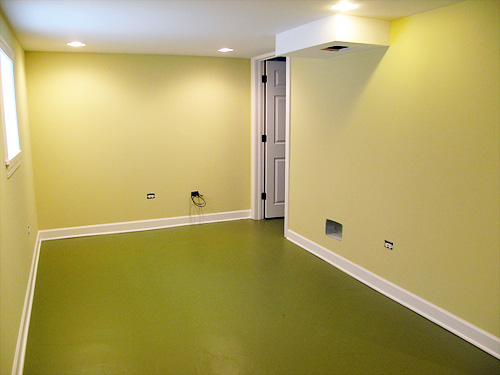
The play space used to look like this:
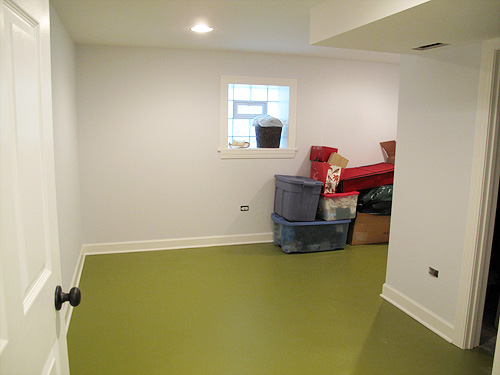
Now it’s a play room, and it looks like this:
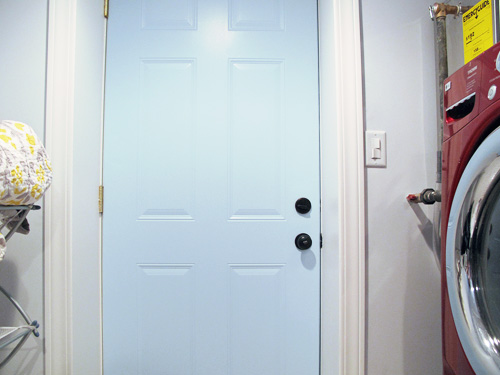
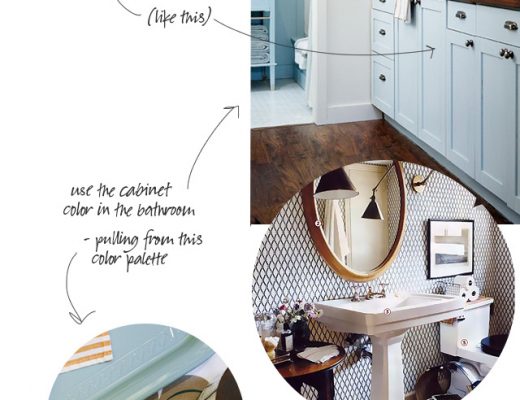
And of course, we have the bathroom and laundry room sneak peeks you’ve already seen:
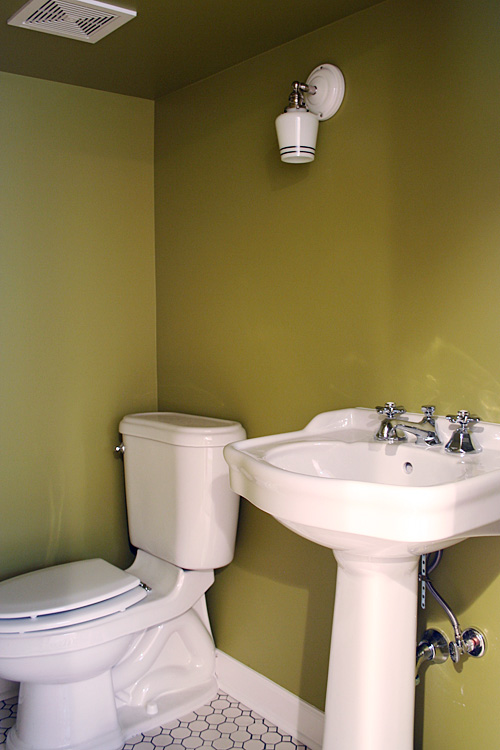
Our house feels so much bigger now. I think we added about 600 sq. ft. of living space to our existing 1400. Now it’s on to the fun part: decorating it!




modern chemistry
March 17, 2011 at 11:25 pmi love your green floors! this gives me so much inspiration, because our basement looks an awful lot like your “before” pictures. :) way to go on making your space useful and beautiful.
Cole
March 18, 2011 at 4:56 pmLooks fantastic! I love the white and green together, so calming and modern…have fun decorating! I know I would! :)
A Charmed Life
March 20, 2011 at 3:56 pmWow, your basement looks great! Enjoy the fruits of your labour :) Maja x
laura @ theshorehouse
March 20, 2011 at 4:49 pmI can’t believe you did this with a baby and baby-on-the-way/here! :-) We’re finishing up an attic reno that’s taking fooorrrrreeevvver. And the only baby in this house is a four-legged mutt. Congratulations on an amazing reno. And isn’t it awesome how much room you add to your house? Makes it worth the work.
Mia Charro
March 21, 2011 at 4:57 amWOWWW!!! It´s incredible! How did you do such an amazing change? Congratulations!
CourtneyOutLoud
March 21, 2011 at 11:32 amLove the painted floors and am super excited to see what your creative mind comes up with!
Rachel
March 21, 2011 at 2:22 pmNice!! Love the green floors. That’s my favorite shade of green.
Jenna
March 21, 2011 at 3:13 pmBeautiful basement! I was curious, how did you seal your floors to make sure the paint doesn’t peel? Also what did you use to prime the floor?
thanks!
twobrunettes
March 22, 2011 at 7:10 amLooks incredible. I adore how perfect everything turned out. Love the green.
Eleanor’s New Rocking Chair | Making it Lovely
April 6, 2011 at 11:18 am[…] that the basement is finished (yay!), we were able to start moving the studio furniture down there, making room for […]
Jennifer Baum
April 6, 2011 at 9:05 pmHow were you able to make all those great windows? (I’m guessing that the walls were underground before…is that right?)
Gorgeous!
jo
April 11, 2011 at 6:52 amOh my God..amazing job you did. Schocing how the place is changed now.
jo
April 11, 2011 at 6:53 amshocking* sorry:)
Christi
April 19, 2011 at 1:03 pmHey Nicole,
Your basement is amazing! Just curious what size ceilings you have. Please let me know if you have time :)
Thanks!
And That’s Why We Had a Curtain for So Long | Making it Lovely
July 21, 2011 at 2:01 pm[…] Sean. He’s the contractor we worked with on the basement. We still have a lot of our tools in storage, so I called him to install the closet door for […]
Home Decoration Items
August 6, 2011 at 2:12 amHow are you clever to make all those grand windows? (I’m guess that the ramparts were underground before…is that right?)
Gorgeous!
Teeny Tiny Staircase Inspiration | Making it Lovely
October 4, 2011 at 12:01 pm[…] painted the stairs to our basement green, and now I’m thinking I should add a little something to them. For now though, […]
Hang-it-All Up | Making it Lovely
October 24, 2011 at 11:44 am[…] most often. We used to have hooks and a shelf there for our coats and shoes, but we took them down when we remodeled the basement. Then the contractor mistook them for trash (an easy mistake to make), and thus we had nothing up […]
Hanging it All | Making it Lovely
February 15, 2012 at 11:24 am[…] We used to have some inexpensive hooks and a shelf from IKEA, but the contractors that worked on the basement remodel didn’t realize that we actually wanted them, so they were tossed. I guess they thought they […]
Possible Rugs for the Basement | Making it Lovely
May 15, 2012 at 11:25 am[…] were cheap, the cleaning would cost nearly as much as new ones, and it would be a lost cause anyway.The basement floor is painted concrete, so I’d like to still have rugs down there, but we need something indestructible. Either […]
Boost Your Roost $20,000 Contest | Making it Lovely
June 20, 2012 at 2:11 pm[…] and I have taken on some big projects, like redoing our kitchen, making over our backyard, and fully refinishing our basement.We’ve improved our home a lot over the years, but we’ve also improved our life at home. […]
JP Kim
November 7, 2012 at 8:32 pmHi,
May I ask what’s on your basement floor. I have a basement space where my husband wants to build a mini gym for himself, and have been contemplating on what to use for flooring. Any feedback?
PAINTED STAIRS: A Colorful Way to Step up Your House Style - benjamin moore's color chats
March 5, 2013 at 1:42 pm[…] Via Houzz and Making it Lovely and via […]
The Finished Basement Studio and Play Room | Making it Lovely
June 7, 2013 at 1:27 pm[…] know, I know. I never really showed the basement after I finished […]
The Finished Basement Studio and Play Room – My Blog
March 6, 2018 at 9:27 am[…] know, I know. I never really showed the basement after I finished […]